Hands-on, brain-based learning and retention comes most genuinely through the writing process, but “The Writing Process” doesn’t have to be formal or essay-style to meet students’ needs.
We process and remember more deeply and more meaningfully when we write about our own thinking or when we refer back to something we previously created to interact with a concept again.
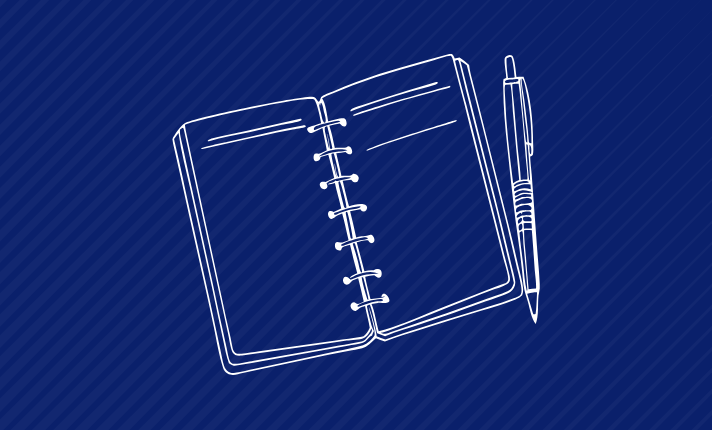
^^That’s the point of students using and maintaining their own reading and /or writing notebooks so that they can use them as reference tools.
I mean, no one spirals and re-uses content like ELA teachers do, right?
When are we ever done teaching, reteaching, and reminding students to use varied sentence structure, embedded quotes for text evidence, figurative language, rhetorical devices, etc. with all the writing and reader responses we do all year long?
But the question I always get from folks in the Middle School ELA Teachers Lesson Plan Membership goes back to the logistics of actually setting up and organizing these kinds of notebooks.
And that’s what I’ve got for you here:
Whether spiral-bound or marbled composition-style, I’m sharing my top 3 simple, user-friendly ways that middle school ELA teachers can set up their composition or reading / writing notebooks so they’re organized, useful, and easy to maintain for the long run:
1. Interactive Notebook Style (Two-Page Spread System)
- Left Side = Student Output (creative responses, personal connections, doodles, reflections)
- Right Side = Teacher Input (notes, anchor charts, vocabulary lists, graphic organizers)
- Why it works: Helps students distinguish between “learning the content” and “processing the content,” which supports retention and ownership.
💡If THIS is the method for you, then scroll down to the copy+paste step-by-step student instructions so you can get it up and running asap. Edit as needed to fit your own criteria if you wish.
2. Sectioned Tabs System
- Divide the notebook into 3–4 labeled sections using sticky tabs or washi tape:
- Reading (notes, character charts, literary devices)
- Writing / Grammar (drafts, peer reviews, grammar practice)
- Vocabulary (word lists, context clues practice)
- Reference/Tools (rubrics, checklists, etc.)
- Reading (notes, character charts, literary devices)
- Why it works: Keeps all ELA components in one place but still easy to find, especially for long-term projects and test prep.
💡If THIS is the method for you, then scroll down to the copy+paste step-by-step student instructions so you can get it up and running asap. Edit as needed to fit your own criteria if you wish.
3. Chronological + Table of Contents
➡️This is actually my favorite method right now, though I’ve used the other two many times over the years.
- Number every page from day one.
- Reserve the first 3–4 pages for a Table of Contents where students log the date, topic, and page number for every new entry.
- Why it works: Great for teachers who want a running record of the year’s lessons without worrying about pre-dividing sections. Perfect for review before tests or end-of-year portfolios.
💡If THIS is the method for you, then scroll down to the copy+paste step-by-step student instructions so you can get it up and running asap. Edit as needed to fit your own criteria if you wish.
Step-by-Step Copy + Paste Instructions for Students:
1. Interactive Notebook Style
Goal: Left side = your thinking // Right side = class notes/resources
Step-by-Step Setup:
- Write your name, class period, and “ELA Interactive Notebook” on the front cover.
- On the inside cover, write: “Left Side = My Thinking, Right Side = Teacher Notes.”
- Number every page (front only).
- Leave the first 2 pages blank for a Table of Contents.
- Fold a sticky note in half and place it at the top right of the notebook as a bookmark for your current page.
- Practice: Open to a two-page spread. Label the left page “Output” and the right page “Input.”
2. Sectioned Tabs System
Goal: Keep reading, writing, vocabulary, and tools separate for quick access.
Step-by-Step Setup:
- Write your name, class period, and “ELA Notebook” on the front cover.
- Number every page (front only).
- Use 3–4 sticky tabs or washi tape strips as section dividers:
- Tab 1: Reading – first 40 pages
- Tab 2: Writing + Grammar – next 40 pages
- Tab 3: Vocabulary – next 20 pages
- Tab 4: Tools/Reference – last 10 pages
- Tab 1: Reading – first 40 pages
- Label the tabs clearly.
- On the first page of each section, write the section title and leave it blank for future mini-TOCs.
3. Chronological + Table of Contents
Goal: Keep lessons in order, log them in a master TOC at the front.
Step-by-Step Setup:
- Write your name, class period, and “ELA Notebook” on the front cover.
- Number every page (front only).
- Leave the first 3 pages blank for your Table of Contents.
- Title page 1 of the TOC: “Table of Contents.”
- Each time you start something new in class, write the date, title, and page number in your TOC before you begin so you can quickly find it again
- Keep all entries in order — no skipping around.
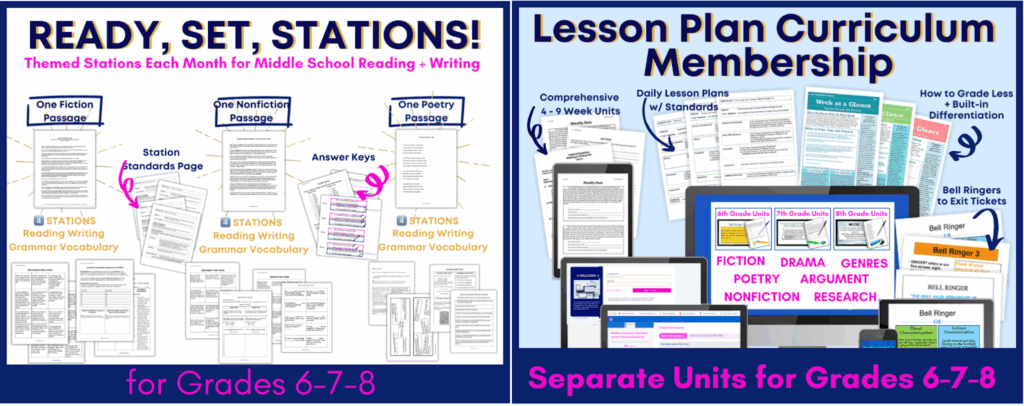
Whether it’s note-takers from mini-lessons inside the ready-made ELA Lesson Plan Units or reading/writing responses from Ready, Set, Stations™, students’ use of interactive notebooks will help them keep everything organized so they have a working toolbox of their learning.